Tuesday, November 20, 2012

Start of a Job of a Lifetime

In May I started to work onsite for the Heceta Head project.  I was impressed with the amount of scaffold enveloping the structure when I first arrived.  This scaffold proved to be quite a savior when the fall storms started rolling in.
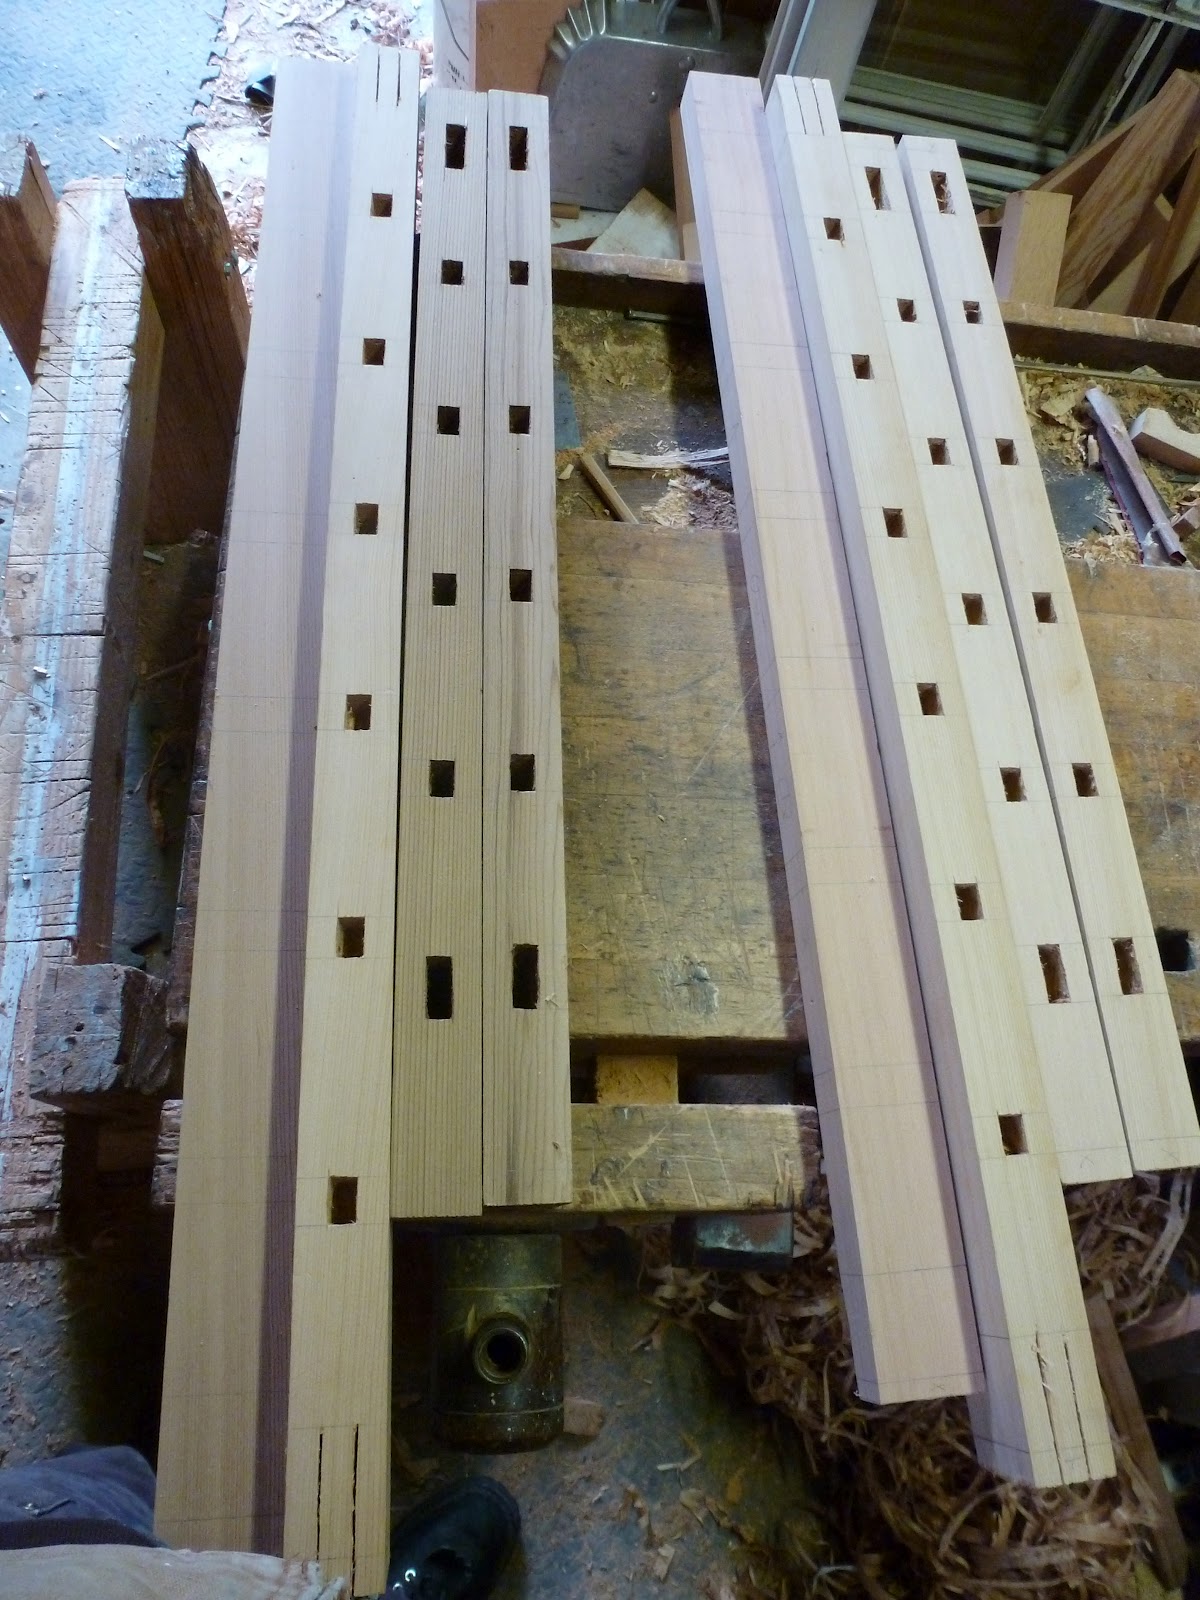
So I started the restoration work on 4 existing small double-hung windows at the watchtower level (right below the lantern) and building 6 new double-hungs for the rest of the structure.


Entire lighthouse enveloped in scaffold.


Once the sash at the watchtower level were removed the full extent of damage to the frames could be seen.
Some of the problems were persistent moisture issues even in the summer (more about this later), extensive rot and insect damage with the south and east frames, sever corrosion to the cast iron pulleys which unknown to me at the time actually split apart every pulley stile.

West frame


East frame with molding pulled back exposing fern roots.


South frame weight pocket (I'll be wearing gloves for this one)


Plywood insert.  No screws needed.


Next up will be the repairs to the double-hung sash.


Sunday, May 20, 2012

Heceta Head Lighthouse

The strongest beacon on the Oregon coast has been temporarily extinguished after nearly a century of continuous illumination.   A year long complete restoration of the lighthouse is now underway and the lantern is now hidden behind a bulwark of thick plywood.  Heceta Head Lighthouse is located 13 miles North of Florence Oregon.  The lighthouse has a 1st order Fresnel lens and the light is visible from 21 miles out to sea making it the most powerful on the coast.  I am fortunate enough to be hired to restore the 4 watchtower windows below the lantern and to build (from historic plans) 6 windows to replace the cinder block that now occupies the original openings.


View of the lighthouse from hwy 101 with approaching storm.


Closer view of the job site with scaffolding covering the tower.


Heceta Head Lighthouse-before scaffolding installation


Current state of affairs


Watch tower windows-Note the vegetation growing on the trim


View from the watchtower level of scaffolding.


Whole lot of scaffolding.

Look for more posts about this project and the Cottage Grove Armory throughout the summer and fall.  Some exciting plane making will be happening with the building of the 6 lighthouse windows.

Saturday, April 14, 2012

Stumbling Towards Windmills

Once an artist always an artist.  Every once in a while I get sucked back into creative adventures. 
Recently I have been making props for a local ballet company's production of Don Quixote.   I believe it is an opportunity to stretch myself and who knows where it might take me.  Plus it is so fun!


Start of the jousting lance.  Used a 9' 4x4 post of Western Red Cedar.


New tool that was used to shape the lance. 

I have no access to a lathe big enough to shape a 9' pole so I had to whittle the beast down with a 10" drawknife.  Working the lance with the drawknife was a cross between doing sit-ups for hours and riding a skinny horse all day.  I now have a new respect for anyone working with a drawknife and a shave horse.  

As with any new tool there is a bit of a learning curve... and I had a slight mishap on the second day of working with the drawknife.  What initially looked to be a simple cut turned out to be something a bit more ugly.  

Doesn't look too bad but later...


Going to have quite a scar.


The yellow wood is Alaskan Yellow Cedar scraps that I have from the building of the Yaquina Head Lighthouse door.  I had to build up the vamplate (bell-shaped guard in front of the grip) so I could get the proper bell shape. 

Starting to look more like a lance and less like a small sapling.

I am about halfway done with the lance.  More photos later of the finished lance.  

The following pictures are of the scabbards I built for a pair of Spanish fencing swords that I have.  The ballet company is borrowing the swords for the run of the show.  

Start of the scabbards.  


Don Quixote's scabbard and sword.  


Gamache's scabbard and sword.


Scabbard faux chapes.

Friday, April 13, 2012

Peter French Round Barn

I had never seen the Round Barn until my visit to the Malheur area of Oregon.  I believe it to be one of the most wondrous engineering feats of the 19th century here in Oregon.  Peter French designed this barn for the horses that were used on the large cattle ranch that he managed.  

View of the barn from afar

Size of the barn is a bit deceiving-it is quite large.

The inner ring is made up of a locally sourced stone.

The inner ring.  

The support posts including the large central post are juniper logs. 

Central post and intricate framing.  

Great Horned Owl nest.

Cantilevered supports.

Love those juniper logs.

Perfect setting.

Definitely worth checking out if you are ever down in Southeast Oregon.

Thursday, April 12, 2012

Frenchglen, Oregon via Baker City

During spring break I was hired to teach some students from the University of Oregon on how to do window assessments. The Frenchglen Hotel was selected as the setting for the assessment.  This hotel will be the location this year for the Pacific Northwest Field School.
Before going to Frenchglen I made my way to Baker City for a quick visit to my parents.


After getting to Baker City I was treated to a spectacular sunset.  I have put some more pictures of my time in my hometown on the right side bar.  Check it out,  it is a great place to visit.  Lots of great buildings.


After 3 days with my parents I made my way south through Prairie City and John Day.  I finally hit some snow storms.  I was pretty lucky though with the weather.  I met up with the students in Burns were we had a quick dinner and then onto the Malheur Wildlife Refuge were we stayed in some plush accommodations provided by US Fish and Wildlife.


The next day our first visit was to the Peter French Sod House.   The ice house was particularly spectacular.  I will post more pictures of my visit and of the hotel itself at a later date.  


Ice house front door


The weather and terrain were very wild and extreme.  


The day I left I finally saw clear skies.


Tuesday, March 13, 2012

"Follow your bliss"- J. Campbell


The moment that I tell people that I do my work with only hand tools is when I get the strange look.  I am very familiar with it,  a combination of amusement and bewilderment.  It is the rare person who actually comprehends what I am saying.  More often than not I am asked "Well what does that mean" or "You do what?!" And inevitably the second question is  "What do you want to do that for?"


 I often struggle to explain to people why I do what I do and how I go about it.  Recently I watched the film Finding Joe and came to realize that I was on my own hero's journey. And it all made complete sense.  It all comes down to the fact that I chose to "follow my bliss".  And every juncture and decision point in my life has led to this work that I do now.

If you asked me to stop doing it would be like asking me to stop breathing.  Can't not do it.


Monday, February 27, 2012

J. H. Ralston House

A couple of weeks back I was asked to build 4 Queen Anne sash for an 1895 house in West Linn, Oregon.  At the time I was very excited to build these as my own house is a Queen Anne Victorian and I would like to replace some of my vinyl's with something more appropriate.  But it soon turned into quite a challenge.

The homeowner provided me with one original sash to use as the sample and an old photo taken of the house in 1915.  The material originally used was Western Red Cedar, my new least favorite species to work with.   In Oregon most 19th c. sash are either Douglas Fir or Western Red Cedar.  This cedar is very prone to tearing and it dents very easily.  My chisels and irons had to be kept very sharp.  I spent a lot of time at the whetstone and strop.

The beginning of the first pair-layout.  (Note my beloved anvil in the background.  
You wouldn't believe how hard it is to find a good anvil.)


Mortises cut, now onto the fun stuff-cutting the rabbet and molded edge.


Using the moving fillister to cut the glazing rabbet (rebate for those of you in Europe).


First pair built, primed, and glazed with colored glass.

Onto the next pair which were much more challenging.  Twice as many lights.  


Partial completion.


Lots of scribing and fitting involved with the grid.


44 hand-cut mortise and tenon joints per 21 light sash.  


Finally assembled, many hours later.


I will post some photos of the glazed sash once they are completed.