Saturday, March 23, 2013

Dutchman Hell, part 1

And so began the arduous and dirty job of removing 4 double-hung frames from their brick openings.  These things hadn't been moved in over a century.  I had no grand ideas that this was going to be easy.


North window frame- arched head piece


South window frame.


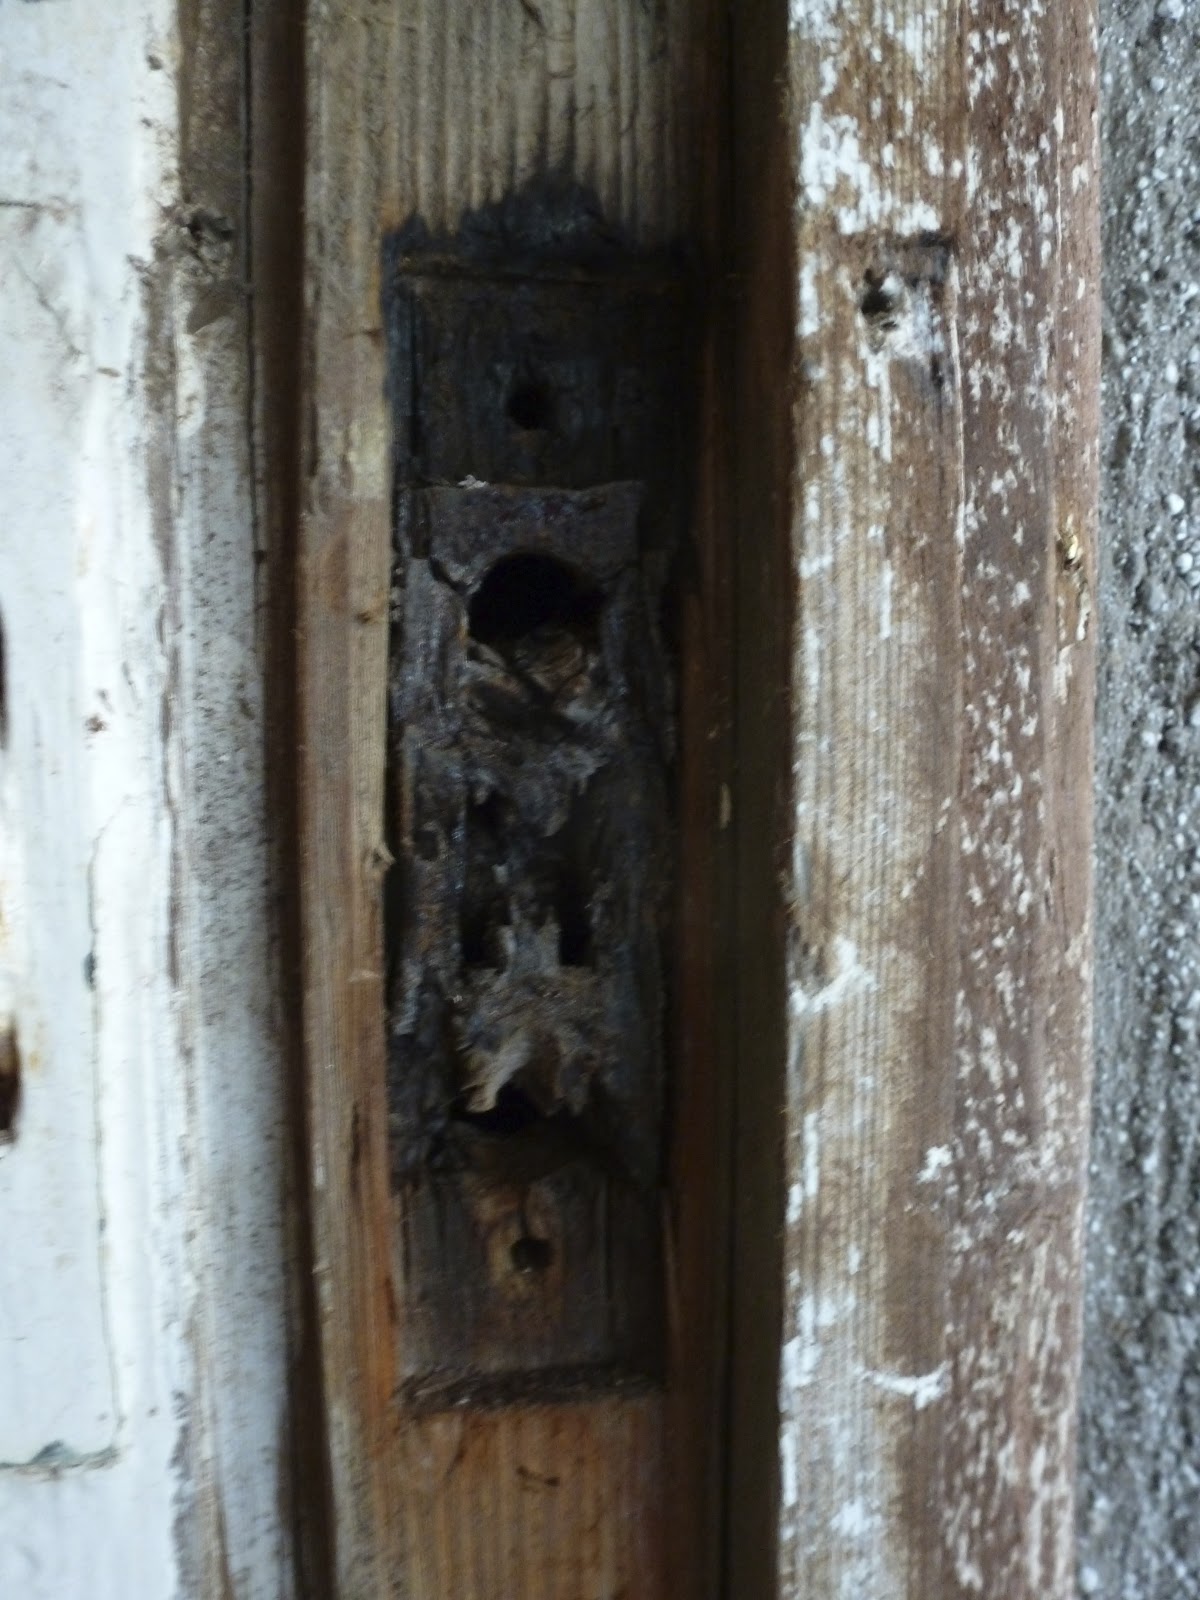
Weight pocket 

The frames were held in place by four sets of criss-crossing masonry nails.   These small nails were a bit of a headache to cut.  Once I did manage to sever them the frames then came out slowly from their brick openings.  Most of them in several pieces.  Only the north frame came out in one piece.  


Cut masonry nails.


Fern roots growing in between the brick and the frame

This photo shows the  condition of the brick openings once the frames were removed.  The roots were only present in one opening. 

Cast iron pulley-severly corroded

The pulley corrosion proved to be quite something.  Causing more damage than I really knew at this point.


Friday, March 22, 2013

A Word About Moisture Meters

From my work on a previous lighthouse I know the problems with moisture metering wood that has been exposed to salt water.  On this first lighthouse I was hired to restore an existing transom and build a new door.  During the restoration of the transom I received very weird numbers from my moisture meter.  After some digging around on the net I found the reason why, the salt in the wood effects the transmission between the two pins therefore giving an inaccurate reading. 


The day I went out to Heceta Head lighthouse to start the prep for the painting of the watchtower window frames I came up against a real problem.  My moisture meter was reading at the maximum number, 95.8%.  Even though I couldn't rely on the percentage number I knew all the wood was soaking wet from the feel and because water pooled around the pins when I inserted them into the wood.  And this was the middle of summer.  


After a call to Benjamin Moore I learned that they won't warranty their paint coats unless the wood substrate was at 11% moisture or less.  I knew that drastic measures would have to be taken if I was going to get a paint coat that was to last past the first six months.
First off, I called my moisture meter company to get some advice.  It was the best thing I ever did.  I found out the Lignomat moisture meters that I use are assembled and designed in Portland.  The owner of the company invited me to come to her workshop where I watched as she assembled my new moisture meter.  She instructed me on how I can monitor the wood and gage when the moisture content would be close to the 11%.  

First thing I had to do was remove the frames from the openings which is something I had not wanted to do when I started the project.  I have learned from experience that they often don't go back in as easily as they come out.  But do this I must.  
Second, I would have to take a moisture reading every other day once they were in Portland.  I would have to graph each reading and when the numbers had stopped dropping and leveled off I would be close to 11% moisture for Portland in the summer.  

Once levels were stable, then I could start the repair process.


Friday, January 11, 2013

Sash Dutchmen Done


Eventually the dutchman repairs were completed on the watchtower sash.  


Repair of utility hole in the South sash.  


Repairs to the North sash.


Grain match turned out pretty well.


Small repair on the bottom of a stile.


Meeting Rail repair.


Another meeting rail repair.


Sash done and ready for return trip to the lighthouse.

Thursday, January 3, 2013

Dutchman Heaven, Part 2

After the documentation period was over I started by cutting out the damaged sections.  Even though these sash are not from the initial building period of the lighthouse I used the best conservation measures for the repairs that I could.  Therefore I removed only what was damaged and saved as much original fabric as possible. 

South top sash, utility hole removed.


After the damaged areas were removed I faced an immediate problem- finding suitable material for the repairs.  As I mentioned earlier these sash are constructed from Western Red Cedar.  The cedar being harvested and milled today, although of good quality lacks some of the more desirable characteristics of old growth cedar.  Finding the good stuff became a real problem.  All my usual sources came up empty and stated that they rarely see old growth cedar in larger dimensions, occasionally there was some siding but that wasn't thick enough.  After some head scratching I pawed through a bunch of old, orphaned moldings that I had taken pity on many years ago.  I found two pieces that were just the right size.

Molding #1-19th c. extra large molding from base of a column.


Molding #2-Early 20th c. porch railing piece.  Top busted but the body was still good.


Layout of repair piece for the South top sash.


Ready for the fit.


Removal of North top sash damage to the stile.


Note the ferric degradation (black streaks along the grain of the wood) from a nail used as a glazing point.
More about ferric degradation and its remediation later.


Corresponding patch for the stile.


Removal of the North top sash damage to the arching top rail.


The extent of damage to the North top sash was extreme.  Two holes were drilled through the main joint that holds the stile and top rail together.  One peg was completely gone and the other had been cut off.  The only thing that kept this sash from falling apart in place was the fact that it had been caulked and painted shut ages ago.  So with a pretty much useless joint the repairs had to be solid and tight.  I chose to use a hammer-head key for the fix to the arching top rail.  I wanted to be sure that the patch didn't pull away over time.

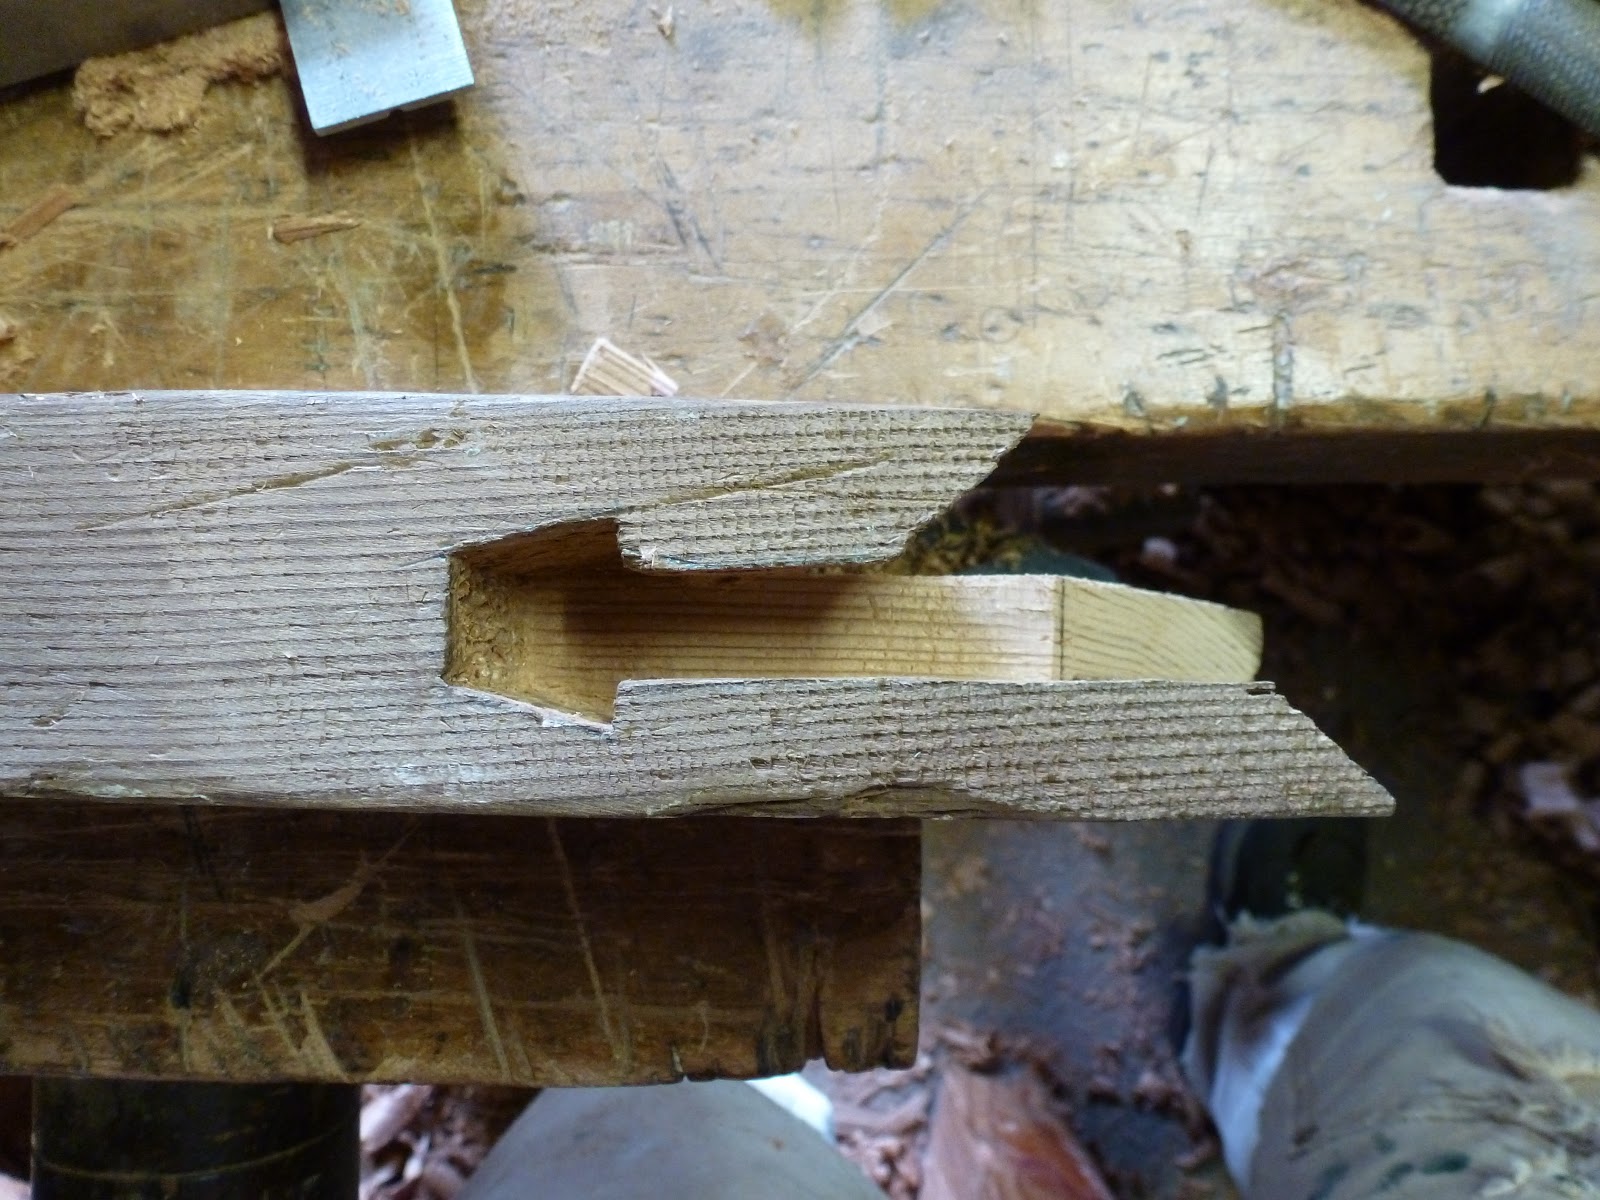
Hammer-head key for the arch top repair.


Wednesday, January 2, 2013

Dutchman Heaven, Part 1

The small sash at the watchtower level were replaced in 1916 after only 22 years of service.  The original frames remained in place.  The original configuration was 4 over 4 and then changed to a 1 over 1.  No record has surfaced as to explain the change.
These current sash have multiple problems but no rot.  The main issue being the inappropriate placement of utilities through the main members of the sash.
Before I started the repairs all the sash were documented and photographed and a paint sample was taken.  Then they were off to have all the paint removed.


South top sash with massive utility hole.


West bottom sash showing peg configuration.


Pitting of the glazing from ocean storms.


After I retrieved the sash from the paint removal company I could see right away why there was not rot.    All the sash are made from Western Red Cedar which is naturally decay and insect resistant.  The damage from the utility holes is very extensive.  Especially through the main joint of the north top sash.  


North top sash with some sort of filler.


And after the filler has been removed.


South top sash after paint was removed.


Tuesday, November 20, 2012

Start of a Job of a Lifetime

In May I started to work onsite for the Heceta Head project.  I was impressed with the amount of scaffold enveloping the structure when I first arrived.  This scaffold proved to be quite a savior when the fall storms started rolling in.
So I started the restoration work on 4 existing small double-hung windows at the watchtower level (right below the lantern) and building 6 new double-hungs for the rest of the structure.


Entire lighthouse enveloped in scaffold.


Once the sash at the watchtower level were removed the full extent of damage to the frames could be seen.
Some of the problems were persistent moisture issues even in the summer (more about this later), extensive rot and insect damage with the south and east frames, sever corrosion to the cast iron pulleys which unknown to me at the time actually split apart every pulley stile.

West frame


East frame with molding pulled back exposing fern roots.


South frame weight pocket (I'll be wearing gloves for this one)


Plywood insert.  No screws needed.


Next up will be the repairs to the double-hung sash.


Sunday, May 20, 2012

Heceta Head Lighthouse

The strongest beacon on the Oregon coast has been temporarily extinguished after nearly a century of continuous illumination.   A year long complete restoration of the lighthouse is now underway and the lantern is now hidden behind a bulwark of thick plywood.  Heceta Head Lighthouse is located 13 miles North of Florence Oregon.  The lighthouse has a 1st order Fresnel lens and the light is visible from 21 miles out to sea making it the most powerful on the coast.  I am fortunate enough to be hired to restore the 4 watchtower windows below the lantern and to build (from historic plans) 6 windows to replace the cinder block that now occupies the original openings.


View of the lighthouse from hwy 101 with approaching storm.


Closer view of the job site with scaffolding covering the tower.


Heceta Head Lighthouse-before scaffolding installation


Current state of affairs


Watch tower windows-Note the vegetation growing on the trim


View from the watchtower level of scaffolding.


Whole lot of scaffolding.

Look for more posts about this project and the Cottage Grove Armory throughout the summer and fall.  Some exciting plane making will be happening with the building of the 6 lighthouse windows.